Convert your Astro app into a PWA in 4 easy steps

Disclaimer
There is an alternative way to convert your Astro app into a PWA using the vite pwa plugin for Astro. This method is more straightforward and requires less configuration. I recommend using this method if you are new to Astro or PWA development. Meanwhile, the method described in this article is more will works but requires more configuration. Check out the alternative method in this commit:
e54ac68Or use Lumina, a template that includes PWA support out of the box (scroll down to the end of the article for more information).
First and foremost. What is a PWA?
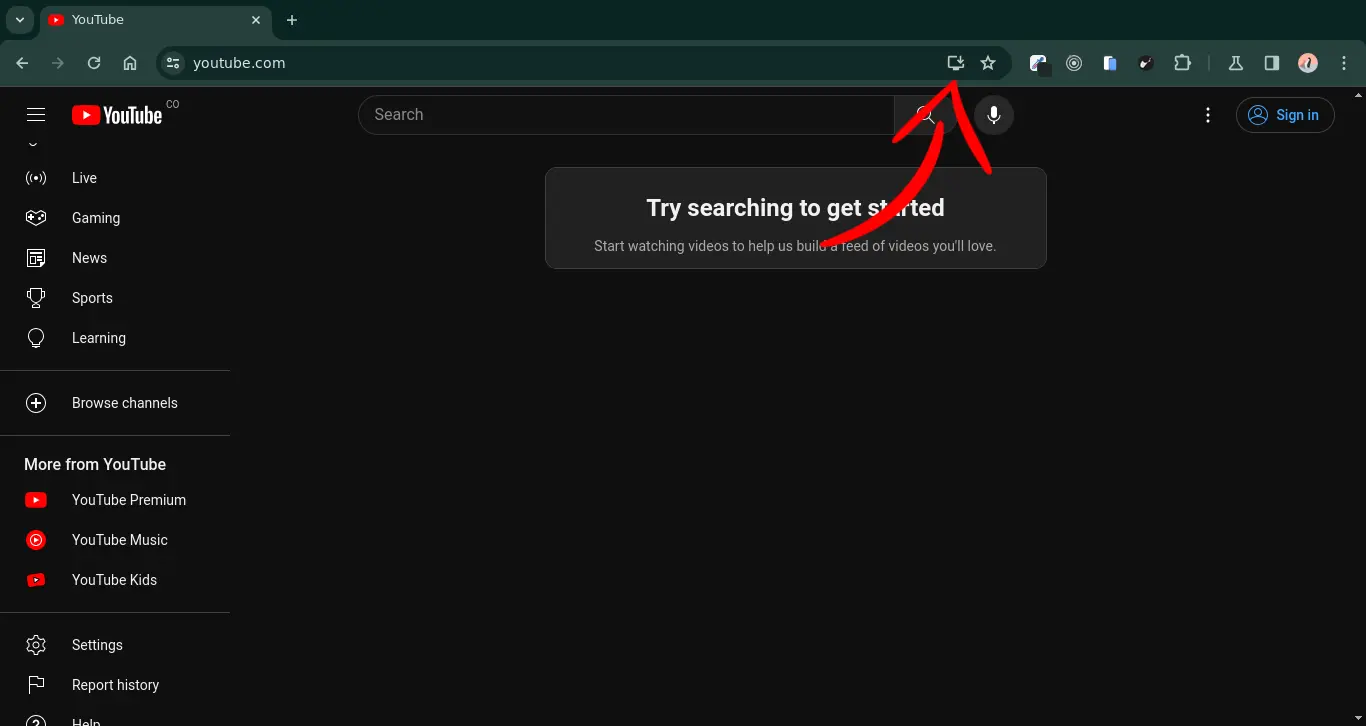
If you’ve been browsing the web frequently lately, you’ve probably come across the following type of tooltip on some popular pages:
YouTube
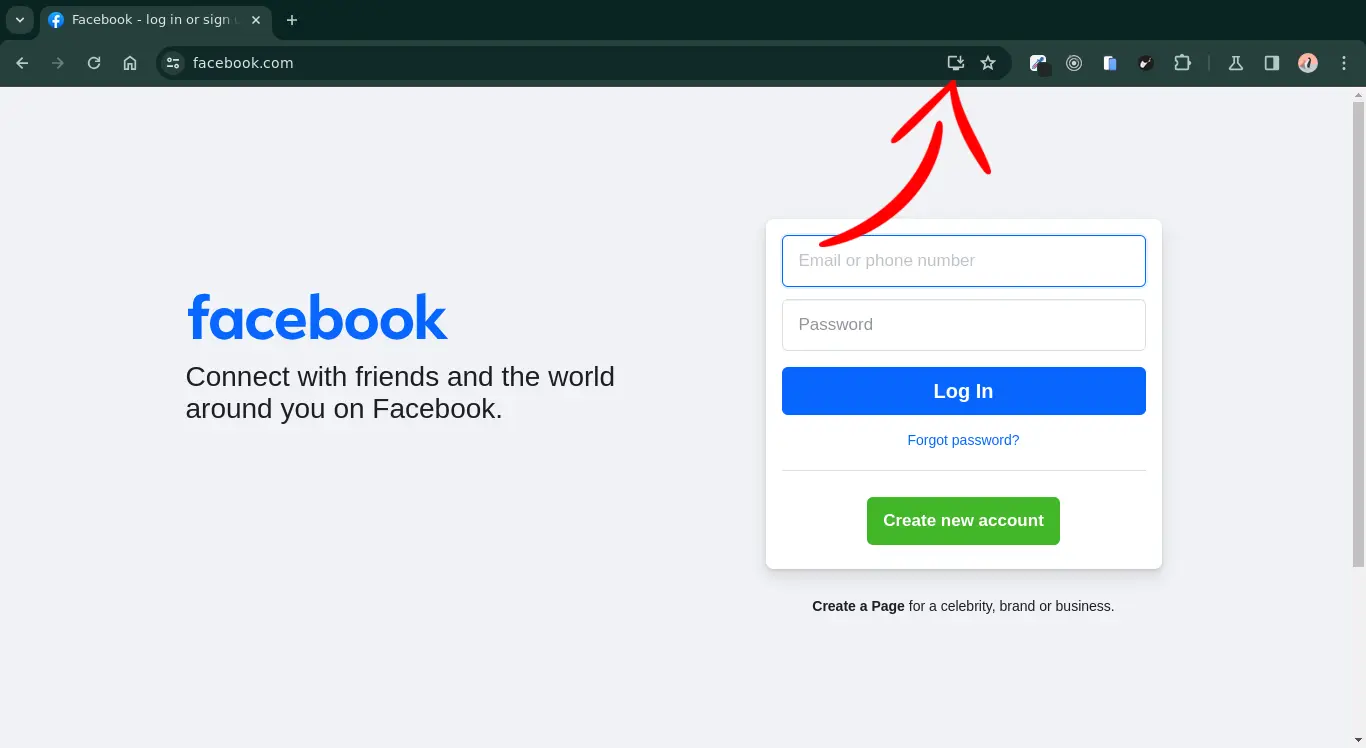
Duolingo
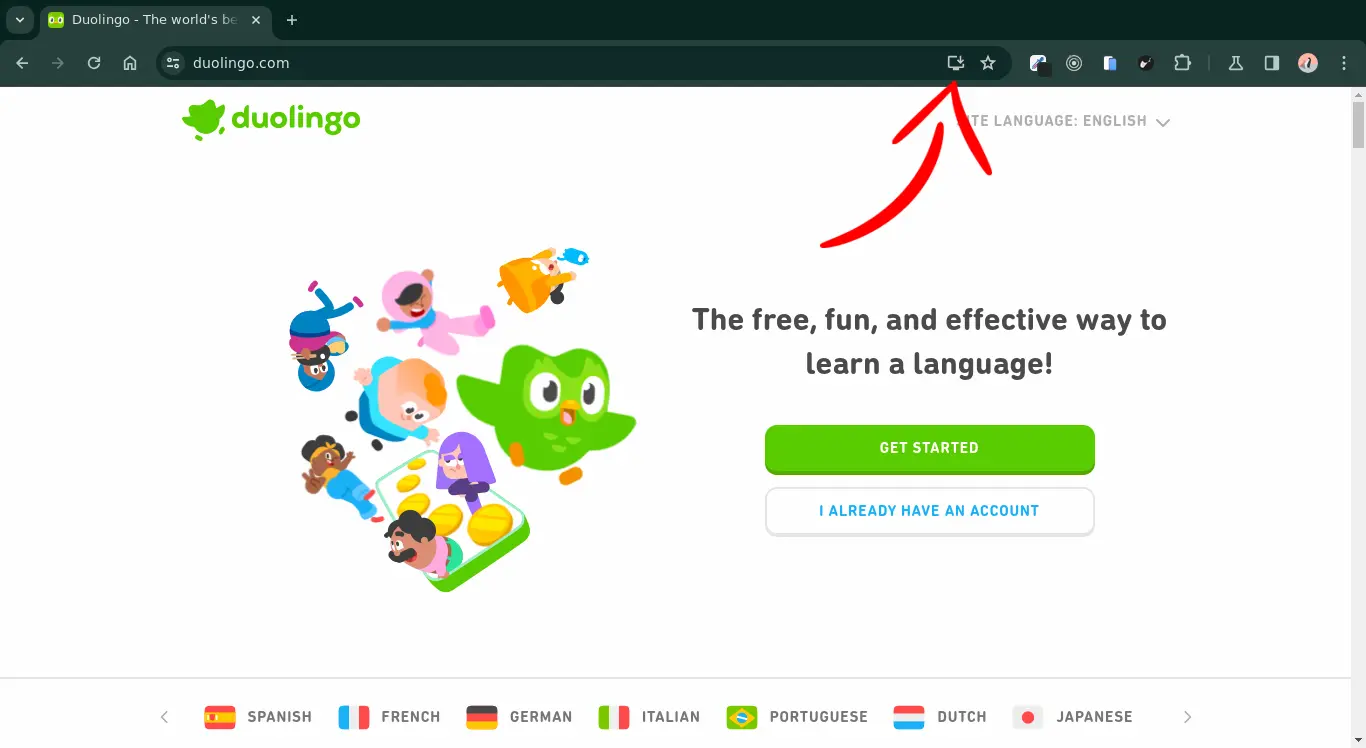
Lichess
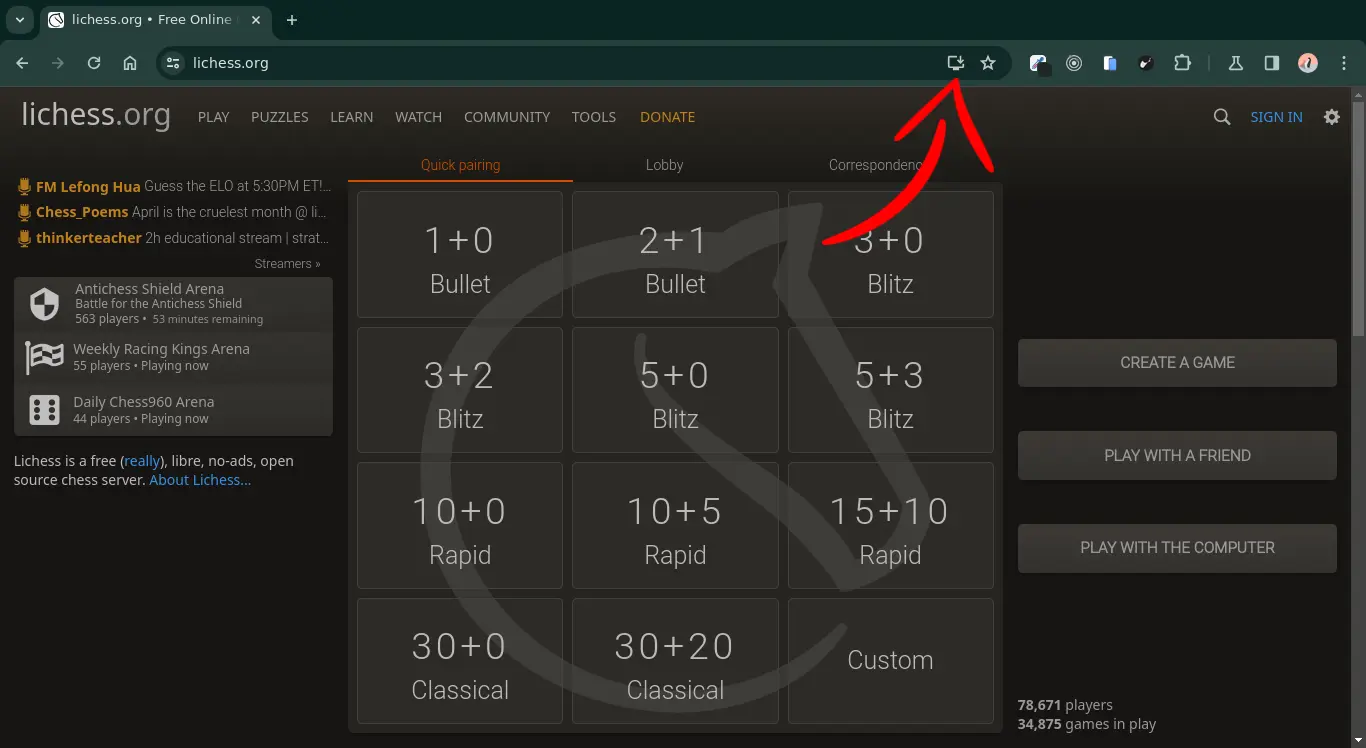
A Progressive Web App (PWA) is a type of web application that is designed to work on any platform and device, regardless of the browser or operating system being used. PWAs are designed to be fast, reliable, and engaging, and they can be installed on a user’s device just like a native app. PWAs are built using standard web technologies such as HTML, CSS, and JavaScript, and they can be accessed through a web browser just like any other website.
What are the benefits of a PWA?
While PWAs are not a perfect solution for all applications, they have some advantages that make them attractive for certain use cases:
- Faster load times: PWAs load quickly, even on slow connections.
- Offline operation: PWAs can work without an internet connection, but this depends on how the application logic has been implemented.
- Automatic updates: PWAs update automatically, which means that users will always have the latest version of the application without needing to download or install updates.
- Lower data consumption: PWAs consume less data than native applications, which can be useful for users with limited data plans.
- Compatibility: PWAs are compatible with most modern browsers, which means that users don’t need to download a specific application for each platform.
How can I convert my Astro app into a PWA?
If you already have an Astro application, converting it into a PWA is a really simple process. In this tutorial, I’ll show you how you can do it in 4 easy steps. I will also show you how to implement this functionality in this same page so you can see the result in action. Let’s get started!
1. Generate the necessary icons
To make your application look good on different platforms, you will need to have a favicon in different sizes. To be more specific, you will need these sizes:
- 16x16
- 32x32
- 57x57
- 60x60
- 70x70
- 72x72
- 76x76
- 96x96
- 114x114
- 120x120
- 128x128
- 144x144
- 150x150
- 152x152
- 180x180
- 192x192
- 310x310
- 384x384
- 512x512
As you can see, you will need a lot of different sizes. But fortunately, there
is
a tool that allows you to generate all these sizes automatically, with
Favycon
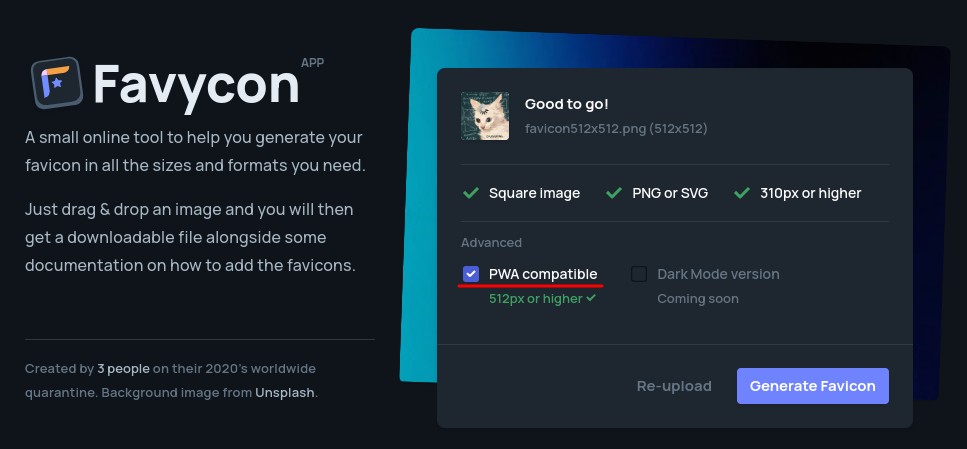
you only need an image of 512x512 (or larger) and the tool will generate all the
necessary sizes for you. Make sure to check the “PWA” option so that the tool
generates the necessary sizes for a PWA. The image should preferably be in
.png or .svg format with a transparent background; if your image does not
meet these requirements, you can use tools like Background Remover to remove the background from your
image and Squoosh to convert your image to .png or .svg and
optimize it.
In the compressed file you download, you will find a folder called icons,
which
contains all the necessary sizes for your application. You can include this
folder directly in the public folder of your Astro application. You will also
find a file called browserconfig.xml, which I recommend moving to the root of
the public folder for easy access, but this is optional.
2. Manifest file
The next step is to create a manifest file for your application. This file tells
the browser how your application should behave when installed on a device. To
create this file, we will use a Vite plugin called vite-plugin-manifest.
This
plugin allows us to generate a manifest file from a configuration file. To
install it, run the following command in the terminal:
pnpm add -D vite-plugin-manifest
Once the plugin is installed, you will need to create a configuration file for
the plugin. You can call this file whatever you want, for example, in my case, I
have created a file seoConfig.ts where I will include the manifest
configuration. Here’s an example of what this file might look like, where I also
include the SEO configuration for my application:
seoConfig.ts
import type { ManifestOptions } from "vite-plugin-pwa"

/**
 * Configuración de SEO para la aplicación.
 * SEO configuration for the application.
 */
export const seoConfig = {
	baseURL: "yourwebsite.com", // Production URL.
	description:
		"A brief description of your application.",
	type: "website",
	image: {
		url: "yourwebsite.com/img/og-image.png",
		alt: "og-image",
		width: 730,
		height: 382,
	},
	siteName: "jamerrq.dev",
	twitter: {
		card: "summary_large_image",
	},
}

/**
 * Configuración del manifiesto para la aplicación.
 * Defines the configuration for PWA webmanifest.
 */
export const manifest: Partial<ManifestOptions> = {
	name: "Name of your application",
	short_name: "A short name for your application",
	description:
		"A brief description of your application.",
	theme_color: "#0F0F0F",
	background_color: "#0F0F0F",
	display: "fullscreen",
	icons: [
		{
			src: "/img/icons/favicon-192x192.png",
			sizes: "192x192",
			type: "image/png",
		},
		{
			src: "/img/icons/favicon-512x512.png",
			sizes: "512x512",
			type: "image/png",
		},
		{
			src: "/img/icons/favicon-512x512.png",
			sizes: "512x512",
			type: "image/png",
			purpose: "any maskable",
		},
	],
}
Make sure the img folder is at the root of your project and contains the icons
you generated with Favycon. If you have followed the previous steps, your
img
folder should contain the necessary icons for your application.
3. Metadata tags
The next step is to include the necessary metadata tags in the layout.astro
file of your application. These tags will help search engines index your
application and display it correctly in search results. Below is an example of
how you can include these tags in your layout.astro file:
layout.astro
<!-- PWA Support -->

<!-- Favicons. -->
<!-- 16 -->
<link rel="icon" type="image/png" sizes="16x16" href="/img/icons/favicon-16x16.png" />
<!-- 20 -->
<link rel="icon" type="image/png" sizes="20x20" href="/img/icons/favicon-20x20.png" />
<!-- 24 -->
<link rel="icon" type="image/png" sizes="24x24" href="/img/icons/favicon-24x24.png" />
<!-- 48 -->
<link rel="icon" type="image/png" sizes="48x48" href="/img/icons/favicon-48x48.png" />
<!-- 64 -->
<link rel="icon" type="image/png" sizes="64x64" href="/img/icons/favicon-64x64.png" />
<!-- 128 -->
<link rel="icon" type="image/png" sizes="128x128" href="/img/icons/favicon-128x128.png" />
<!-- 144 -->
<link rel="icon" type="image/png" sizes="144x144" href="/img/icons/favicon-144x144.png" />
<!-- 256 -->
<link rel="icon" type="image/png" sizes="256x256" href="/img/icons/favicon-256x256.png" />
<!-- 512 -->
<link rel="icon" type="image/png" sizes="512x512" href="/img/icons/favicon-512x512.png" />
<link rel="shortcut icon" type="image/x-icon" href="/favicon.ico" />

<!-- Sitemap -->
<meta name="msapplication-config" content="/browserconfig.xml" />

<!-- Worker and Manifest Registration -->
{
  !import.meta.env.DEV && (
    <script is:inline src="/registerSW.js"></script>
    <link rel="manifest" href="/manifest.webmanifest" />
  )
}
In this example, I have included the necessary tags for the favicons and the
manifest file. I have also included a registerSW.js file that registers the
Service Worker in the application. This file is necessary for the application to
work correctly as a PWA once it has been built.
4. Vite configuration for Astro
The last step is to configure Vite to include the manifest file in the public
folder of your application. To do this, you will need to modify the Astro
configuration to include the vite-plugin-manifest plugin that will do the work
for you. Below is an example of how you can do this:
astro.config.ts (or astro.config.{mjs,js})
export default defineConfig({
  // ... other config
    vite: {
        plugins: [VitePWA({
            registerType: "autoUpdate",
            manifest,
            workbox: {
				globDirectory: "dist",
				// globPatterns for the files you want to cache inmediately
				// after service worker registration.
				globPatterns: ["**/*.{js,css,svg,png,jpg,jpeg,gif,webp,woff,woff2,ttf,eot,ico}"],
				// Don't fallback on document based (e.g. `/some-page`) requests
				// This removes an errant console.log message from showing up.
				navigateFallback: null
            }
        })],
    },
    // ... other config
})
With this, you will have your Astro application configured as a PWA. Now, when you build your application, Vite will generate a manifest file and a Service Worker that will allow you to install your application on your device.
Bonus: Lumina
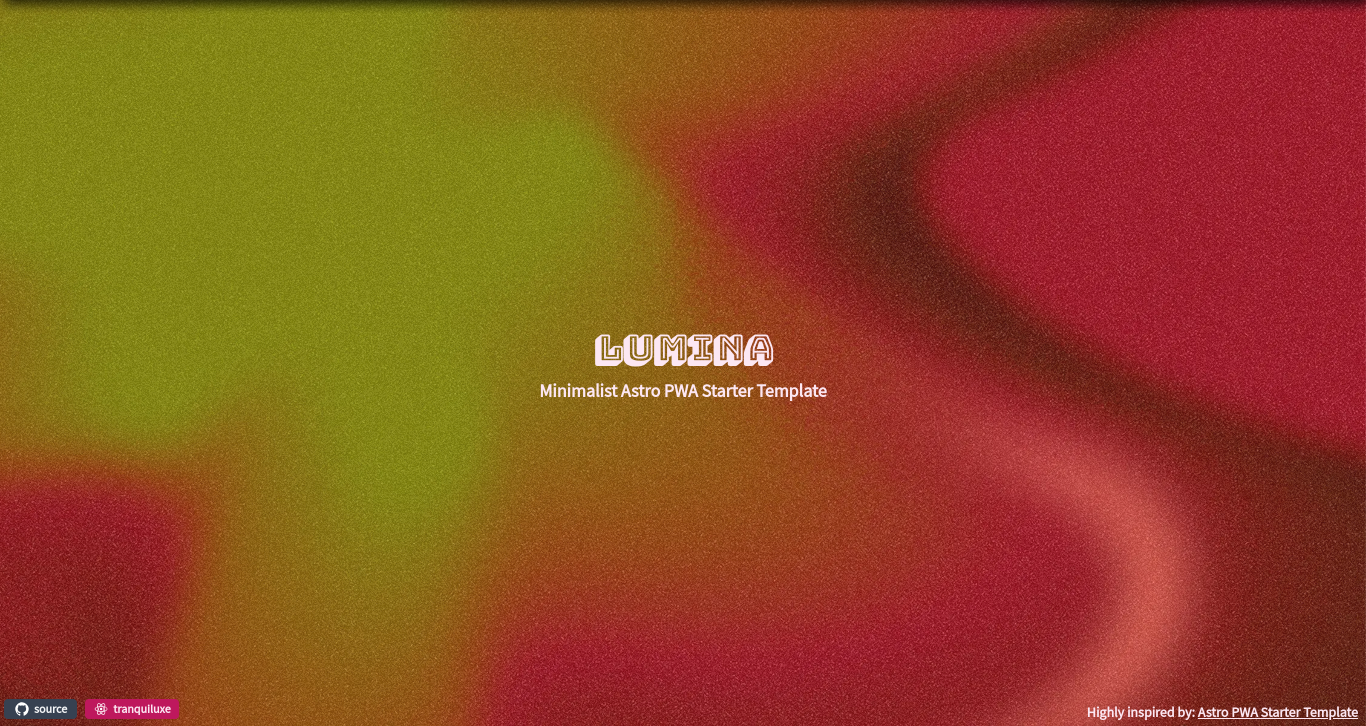
Lumina is an open-source template that I created to help you create Astro
applications with support for PWA, SEO, and other features. If you want to
create
an Astro application with PWA support, I recommend trying Lumina. You can find
more information about Lumina in its GitHub repository or directly on its website.
Thanks for reading! I hope this tutorial has been helpful to you. Happy coding! :p