About this website
Better started than perfect
Starting something is sometimes the key to get it done. You always can improve it later.
Who am I?
My name is Jamer José, I’m a mathematician and web developer. My first approaches to code were not very fortunate, but over time and hand in hand with mathematics, I found in programming a way of expression and creativity that has allowed me to explore and learn many new and interesting things.
In 2024, I decided to create this website to share my knowledge and experiences in this world. Among my interests are open source, linux (Ubuntu), web development, algorithms as well as mathematics applied to programming.
Feel free to explore my website and contact me if you have any questions or suggestions. You are totally welcome 😺
What can you learn from this website?
Want to build your own portfolio or personal website? Here are some things you can learn from this project:
- Server Side Rendering with Astro and Deno
- Deploy your website for free with Deno Deploy
- Astro View Transitions
- Preact Integration with Astro
- How to use signals with Preact
- CSS Grid & Flexbox Layouts
- PWA Development within an Astro App
- How to style your website with Tailwind CSS and plugins
- Dark Mode with Tailwind CSS
- How to use MDX in Astro
- Accessibility and SEO in Astro
- GitHub Projects and GitHub Actions
- I18n routing with Astro (Multilanguage)
- Custom error pages (404, 500)
I’ll try to expand this article going into more details about each of these points, meanwhile you can explore the source code of this website on GitHub [jamerrq/jamerrq.dev]
What is Astro? (And why you should learn it)

Astro is a modern frontend framework designed for the creation of highly optimized and fast websites. It stands out for its ability to generate static HTML by default, which minimizes the load of JavaScript on the client, significantly improving performance.
Astro also allows the integration of components from various frameworks such as React, Svelte, and Vue in a single project, offering great flexibility. It also facilitates the use of Markdown and MDX (Markdown + JS) for content creation.
It also has a robust plugin system that extends its functionalities, making Astro a powerful and versatile tool for web developers. If you want to know more about Astro, you can visit its official website at astro.build to learn about all its features and benefits.
How to start a web application with Astro
Starting an Astro project is very simple. You just need to have an environment to run JavaScript and a text editor. In my case, I use Bun as my package manager during development since it is a project where I have the freedom to experiment with different technologies and tools. However, you can use your preferred package manager.
To create a new Astro project, you can use the following command:
bun create-astro@latest
If you use npm, you can run the following command:
npm create astro@latest
With pnpm:
pnpm create astro@latest
And Yarn:
yarn create astro
This command will run a wizard that will guide you through the initial configuration of your project. Once completed, you can start developing your Astro application in your favorite text editor. I highly recommend Visual Studio Code as it has a large number of extensions and tools that will make development easier. Among them, the official Astro extension that will allow you to have a better experience in the development of your project.
LightHouse y Pagespeed Insights
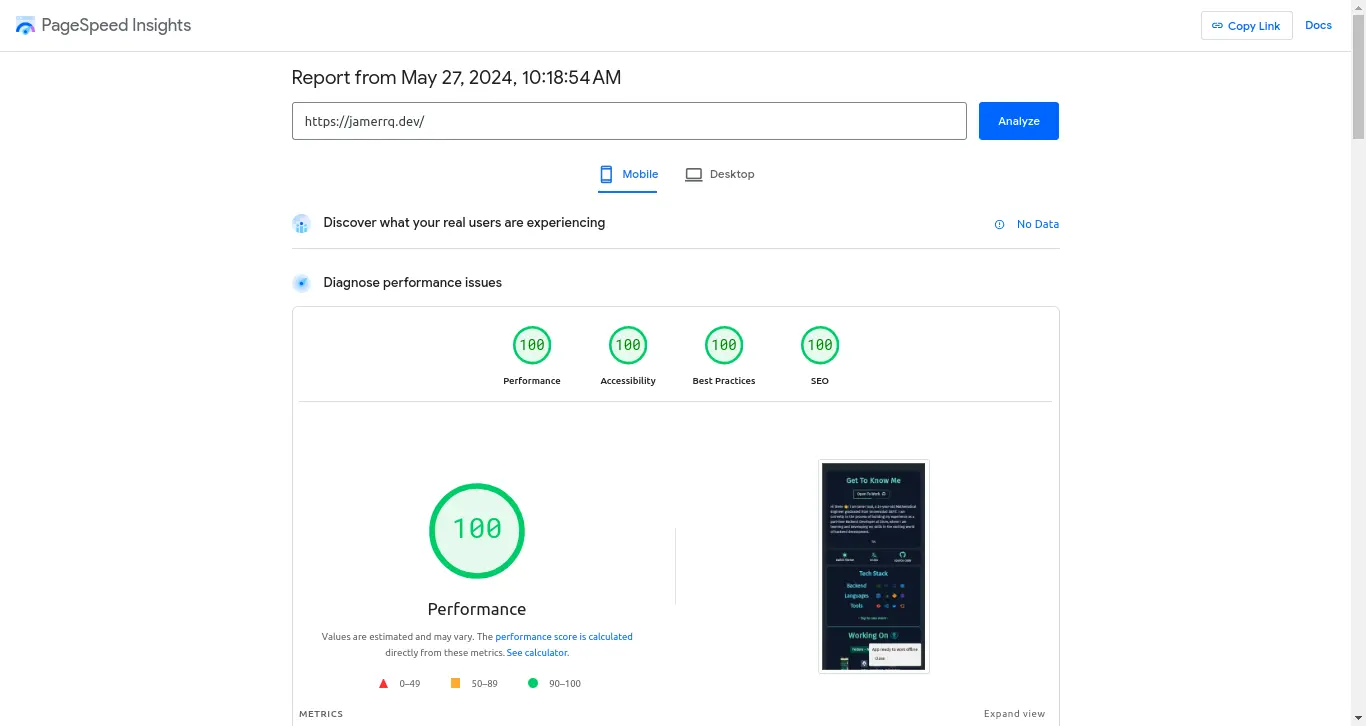
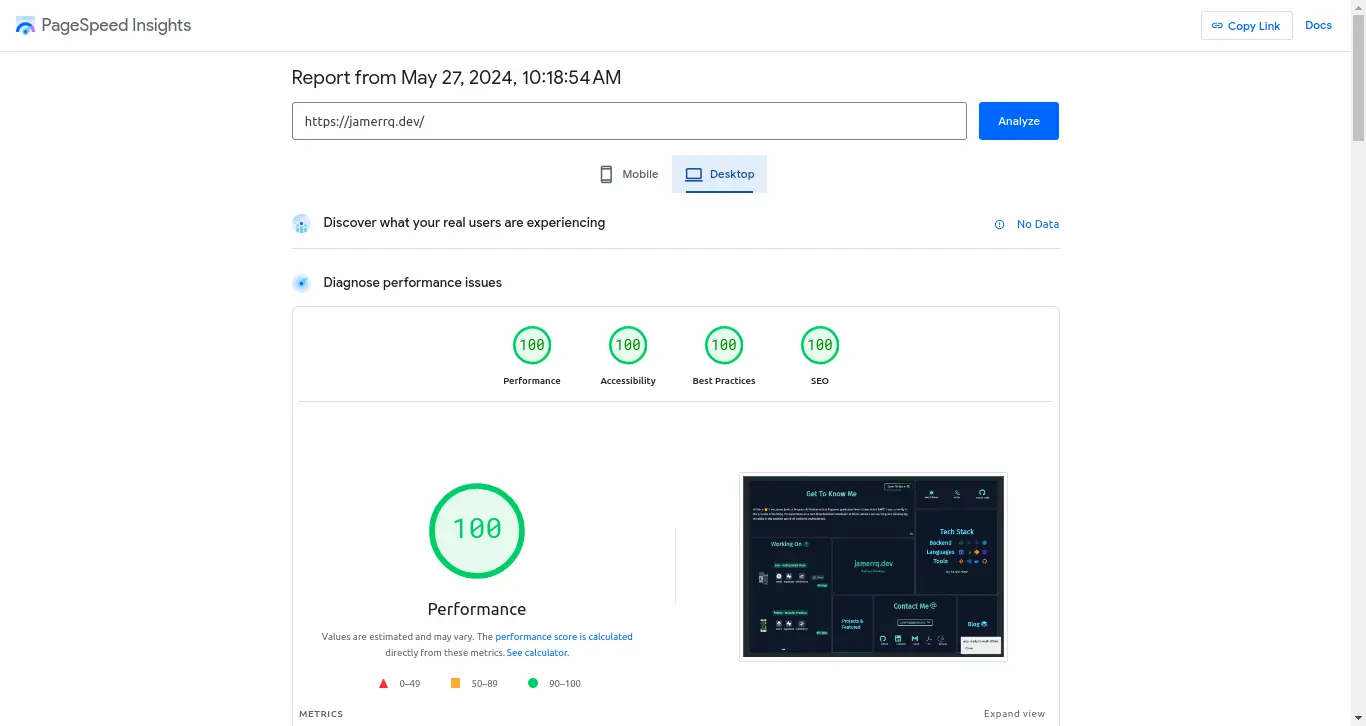
To ensure that my website is accessible and fast, I have used tools like LightHouse and Pagespeed Insights to measure and optimize the performance of my website as I have developed it.
This process has allowed me to identify and correct performance and accessibility issues, as well as improve the user experience on this website. Later on, I will write an article detailing how I have optimized my website with Astro so that you can apply these same principles to your project.
Here, you can see the result of the last audit carried out on my website with Pagespeed Insights:


Maybe you don’t notice it, but…
HOVER ME!
Explore this app with Astro’s view transitions
One of the most interesting features of Astro is the ability to implement transitions between views in a simple and elegant way. This allows you to create more attractive and dynamic user experiences, improving navigation and interaction with the web.
In this website, I have used Astro’s view transitions to create entry and exit effects when changing pages. This gives a special touch to the navigation and improves the user experience when exploring the content.
Here is a demonstration video so you can see how the view transitions work on this website:
To implement view transitions in your Astro project, you just need to import
them into your main layout, and then include them within the <head> component
of your layout.astro file:
---
import { ViewTransitions } from 'astro:transitions'
---
<head>
  <ViewTransitions />
</head>
With this, you will have the view transitions activated in your Astro project. Now you just have to add the transitions between elements of your web to give it a special touch to the navigation. How is it done? I’ll give you an example 👇
This is the blog-about.astro component that holds the title “Blog” when you
enter the /blog subpage
<a
  class={ABOUT_STYLES}
  transition:name='blog'
  href={lang === 'en' ? '/' : '/es'}
>
  <span class='dark:text-cyan-300'>Blog</span>
  <svg
    class='w-8 h-8 inline-flex dark:fill-cyan-300 fill-amber-950'
    set:html={siGitbook.svg}
  />
</a>
And this would be the component that is part of the main bento of the web, i.e.
blog.astro
<Hbox
  title='Blog'
  href={lang === 'en' ? '/blog' : '/es/blog'}
  otherStyles='xl:row-span-2 [&_p]:text-3xl'
>
  <div class='flex gap-2' transition:name='blog'>
    <p>Blog</p>
    <svg
      class='w-8 h-8 inline-flex dark:fill-cyan-300 fill-cyan-950'
      set:html={siGitbook.svg}
    />
  </div>
</Hbox>
If you observe, both components have the property transition:name='blog' that indicates Astro to apply the transition between these two elements when navigating between them. This is how simple it is to implement view transitions in your Astro project. If you want to know more about how view transitions work, you can check the official Astro documentation.